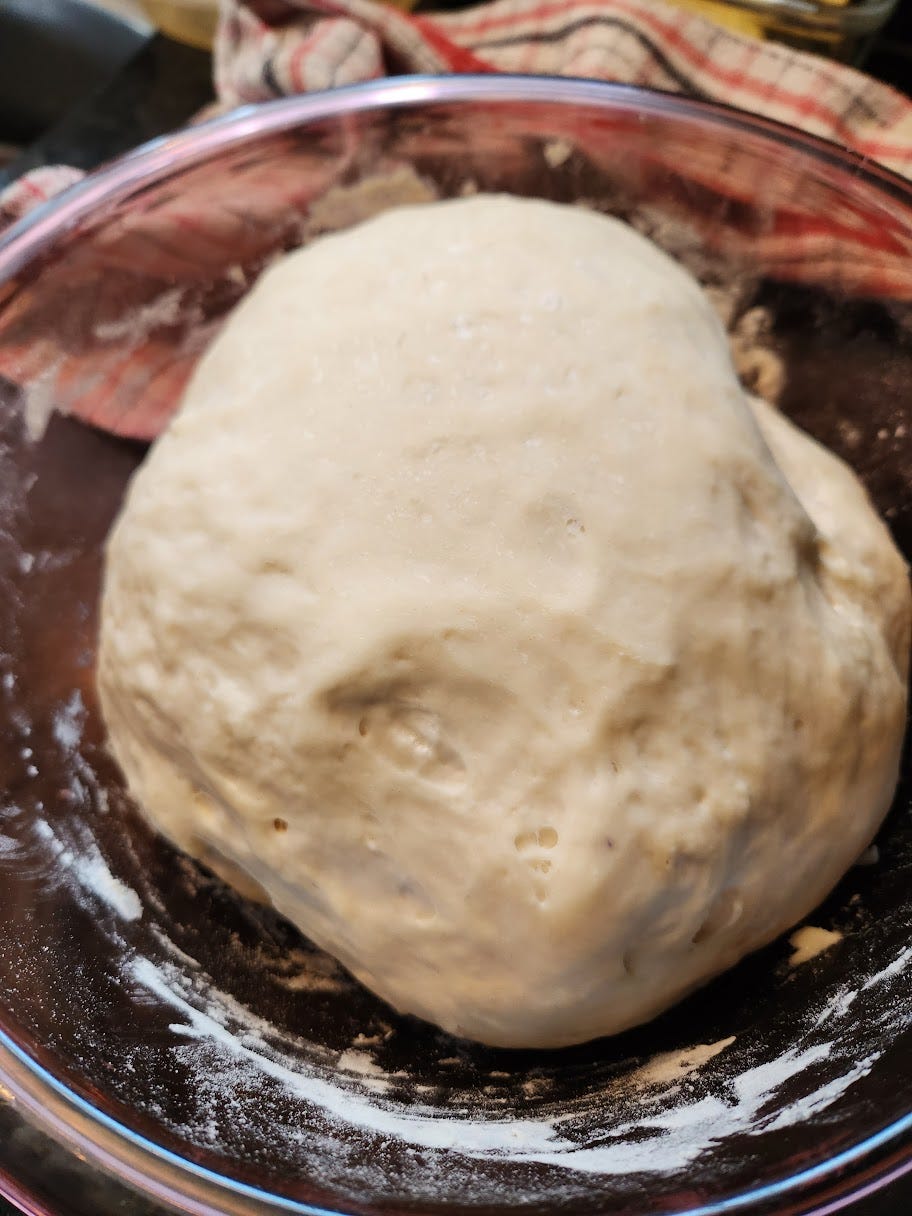
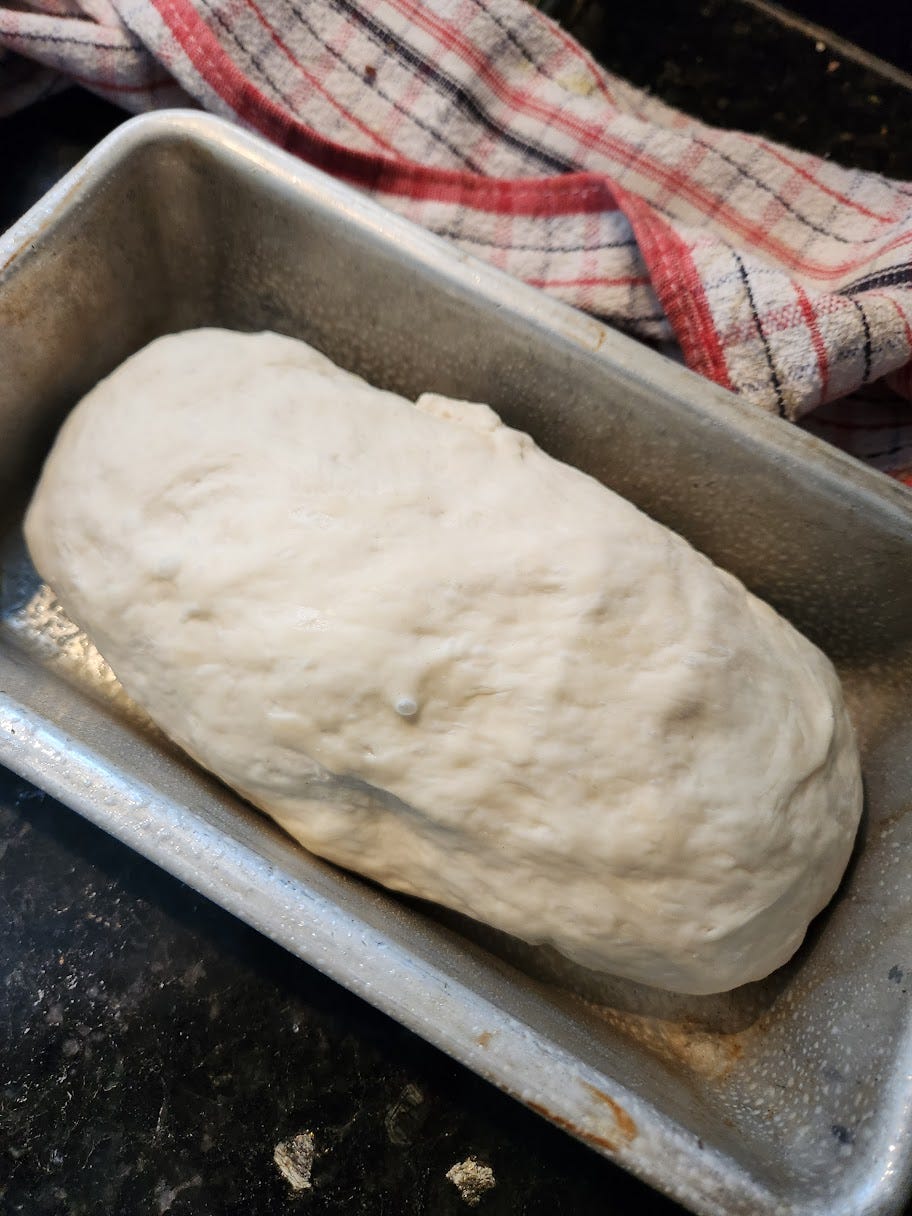
People get freaked out about yeast. Many cooks are happy to make pancakes, a loaf of banana bread, or a batch of muffins with chemical leaveners like baking powder and baking soda, but as soon as you bring yeast into the equation many people balk. It suddenly becomes complicated, will probably take all day, makes a mess, won’t rise, etc.
Most of us aren’t used to dealing with living things in the kitchen, or things that remind us too much of living things. Most fruit and vegetables come clean and washed. Eggs come in cartons free of feathers and assorted other sticky stuff. Meat comes on Styrofoam trays and wrapped in plastic, long removed from the hooves and hair. Maybe a live lobster or two comes into the house once a year, but plenty of people won’t even try that.
But nearly everything we eat was alive at some point, and the modern kitchen can harness the living world in many different ways, including fermented foods and simple cultured products like crème fraiche. Once you get the general idea (and have enjoyed the results!) it gets considerably less scary.
And bread need not be scary at all because yeast isn’t scary. It’s just a little micro-organism that consumes the sugars in your flour and burps out CO2. Give it what it wants and it makes bread for you.
If your Grandma was like mine, bread making was an all-day project using an enormous bowl, half a dozen pans, and finding every warm spot in the house to help the bread rise. I am not suggesting a project like that, but a simple single loaf that you can easily fit into a weekday schedule – no kidding. And better than that, it’s just a ratio, not a recipe.
Bread is made from the simple ratio of five parts flour to three parts water. Or, to think of it in terms of percentages the weight of the water needs to be 60% the weight of the flour.
Notice I mention weight and not volume (cups)? Almost all professional bakers bake by weight and not volume – it’s faster, more accurate, and it’s easier to scale up or down. I don’t like to suggest you go out and buy more stuff, but a scale is one of the best things you can have in your kitchen and is a purchase you won’t regret.
A word about flour. Bread flour, sometimes called “strong flour” contains more gluten and therefore makes a better loaf. However, all-purpose flour works just fine. Whole grain flours can be used, but they don’t hold to the ratio as consistently, so aren’t the best for a beginner.
But flour and water alone don’t make bread – you also need salt and the dreaded yeast. Salt is easy if you’re measuring by weight – it should be 2% of the weight of your flour. And this is yet another reason to measure by weight – the shape and size of the salt crystals don’t matter then.
And as for yeast? Well, here’s the thing: it depends. Even a very small amount of yeast will leaven your dough, but it will take longer. In general a longer leavened bread has more flavour, so a larger quantity of yeast results in a faster, but less tasty loaf. Whether you use half a teaspoon or tablespoon is up to you, but you’ll have to adjust your timing.
And what kind of yeast? I find active dry yeast the easiest to use. Whereas instant yeast can be added directly to the flour, active dry yeast needs to be bloomed (hydrated) by being added to warm water and given a few minutes to foam up. I prefer it because I can see whether it’s alive or dead before I waste a pile of flour. You’ll occasionally get a dud batch of yeast due to age and/or improper storage. It’s not common, but it does happen. You’ll occasionally see recipes that use “fresh yeast”, but it’s hard to find and impractical for the home cook. Sourdough leavening is a discussion for another day.
The TL;DR on yeast though? A single packet/7g/2 ¼ teaspoons of active dry yeast for a single loaf of bread will work just fine.
And once you’ve got your dough made bread is a simple sensory activity. I mean, you CAN make it in a stand mixer, but you’d be depriving yourself of a lightly vigorous but thoroughly relaxing activity. The kneading motion arranges the gluten into long strands (rather the opposite of what we did making pastry) and once you get the hang of it will be a pure pleasure.
Let’s make bread!
The Gear:
Two medium mixing bowls
Loaf pan
Clean dish towel or plastic wrap
Cooling rack
Fork (optional)
The Ingredients:
500 grams all-purpose or bread flour
300 grams warm water
Packet of active dry yeast (7grams)
10 grams salt, plus more for sprinkling on top
Pinch of sugar (optional)
Neutral oil for greasing the pan
The Technique:
Heat your water (or use warm tap water) to about 110F-115F. You don’t have to get the thermometer out, but it should feel very warm to the touch.
Add your yeast and let sit to bloom. I also add a pinch of sugar to give the yeast something to munch on, but that’s totally optional.
Measure out your flour and salt and combine.
When your yeast is foamy (about 5-8 minutes) add to the dry ingredients.
Mix with your hands, or if you’re a little squeamish about sticky stuff you can use a fork. If it seems on the dry side (and it probably will) cover and let rest for 30 minutes or so to allow the flour to fully hydrate.
Turn the dough out onto a clean surface.
Knead the dough by pushing it away from yourself, then pulling back and turning it 90 degrees. Repeat (over and over and over…) You can also pick up the dough and throw it hard at the counter. This action also develops gluten, is a form of stress relief, and makes a satisfying thud.
After about 7-10 minutes of kneading (you should have a podcast to listen to), your dough will have a pleasant soft texture. Tear off a small piece and give it a stretch – you should be able to stretch it enough to see daylight. If it rips too easily continue kneading a few more minutes.
Form your dough into a ball and cover with a towel or plastic wrap. Leave the bowl in a warm-ish place until the dough doubles in size. If you’re in a hurry you can leave it on top of the fridge (the coils at the back generate heat) or as my Grandma told me, on top of an old CRT television set (what’s that LOL?) But do remember, the faster the rise the less flavourful your bread so don’t hurry if you don’t have to.
Once the dough has doubled in size, gently deflate it by pressing out the excess gas.
Brush your pan with a little oil and shape the dough to fit. It will fill out the pan as it rises, but it won’t grown in length, so do try to get the length correct.
Cover pan with towel or plastic wrap and allow to rise in a warm place for another hour or so.
Preheat your oven to 400F/200C.
Once dough has risen a second time, brush the top with a bit of oil, sprinkle with salt (if you’d like) and bake for 30-40 minutes, turning pan halfway through.
Your bread is done when it is evenly golden brown and sounds hollow when tapped. Remove from pan. Allow to cool on a rack for at least 30 minutes before ripping into it.
Congratulations! You’ve made bread!
Now, is this the best bread you’ll ever eat? Not by a long shot. If you (like me) are a fan of tangy sourdoughs and rustic country styles of bread you will find this loaf pretty bland. It lacks depth of flavour due to the quick rising and the basic ingredients. It has a soft crumb more like cheap sliced bread rather than the chew of a good baguette. But this recipe strips the ingredients and process down to their simplest forms. If you can follow this recipe you can make bread, and every other recipe you’ll try builds outward from these simple steps.
Bread making need not be an intimidating process. It’s a skill that’s well within the reach of every home cook and one that is both fun and relaxing once you’ve mastered the basics. The yeast is your friend and another tool in your toolbox. Make bread. Eat. Repeat.


Well - Udate: I ventured forth to fetch more flour and aLOT came up and now aI am about to punch down , Re knead and get the sponge set to rise all night- Finish manana🧘🏽♂️🏄🏼♂️🧘🏻♀️🤸🏽♂️🥌🏂❄️💦❄️🫧☂️☔️it’s drizzly - dreary weather
I’m making a sourdough with elderly scalded milk from 2 days ago!! I’m particularly psyched about this lightening bolt idea!!