One of the things that separates good cooking from great cooking is stock. Stock makes ordinary food extraordinary.
At their root, stocks are water and protein. They are both neutral and incredibly flavourful. When you’re making stock you are making an ingredient that can be adjusted in strength, body, and flavour profile to become nearly anything. A cup of homemade stock leaves boxed broth or a bouillon cube in dust.
One of the most versatile stocks for the home cooks is brown poultry stock. It is easy to make, uses ingredients you are likely to have around, can be finished in less than a day, and works well in a variety of dishes, including those where you might use beef broth. And guess what? If you roasted a turkey in the last few days you probably have most of the ingredients you’ll need.
Stock-making can seem a little intimidating but making stock shouldn’t get you fussed at all – it does take a bit of time (mostly hands-off) and a little knowledge, but it’s a perfect activity for a chilly winter day and makes your house smell amazing.
Do I have you convinced yet? Let’s start with a few basics:
What’s the difference between stock and broth? And what’s the deal with bone broth? Essentially, stocks are made from bones, broths are made from meat, and bone broth is a pretentious re-branding of stock that incorporates a bit of acid (like vinegar), a longer cooking time and some dubious health claims. Don’t listen to the hipsters – stock does anything bone broth can do, but minus the hefty price tag.
What goes in stock? Poultry bones (with whatever scraps of meat, gristle and skin left attached), any miscellaneous necks, backbones, feet (yep!), and wing tips you have in your freezer, a few aromatic vegetables and herbs, and some water. If you have a few different types of birdy pieces around (turkey, chicken, duck, etc.) throw them all in. Raw and/or cooked bits are fine!
What tools do I need? You’ll need a sheet pan or two, the biggest pot you own, a spoon, a strainer, and some molds/containers for freezing your stock.
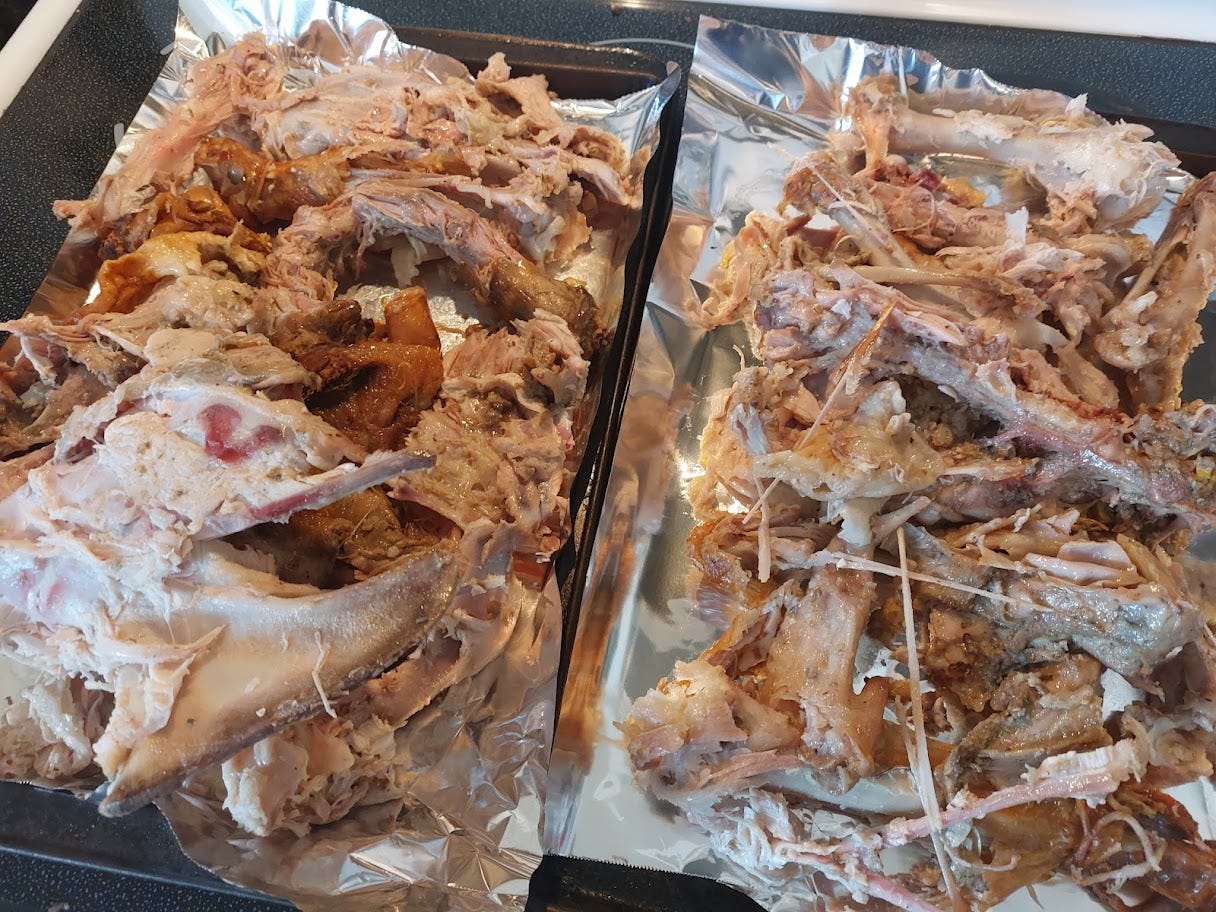
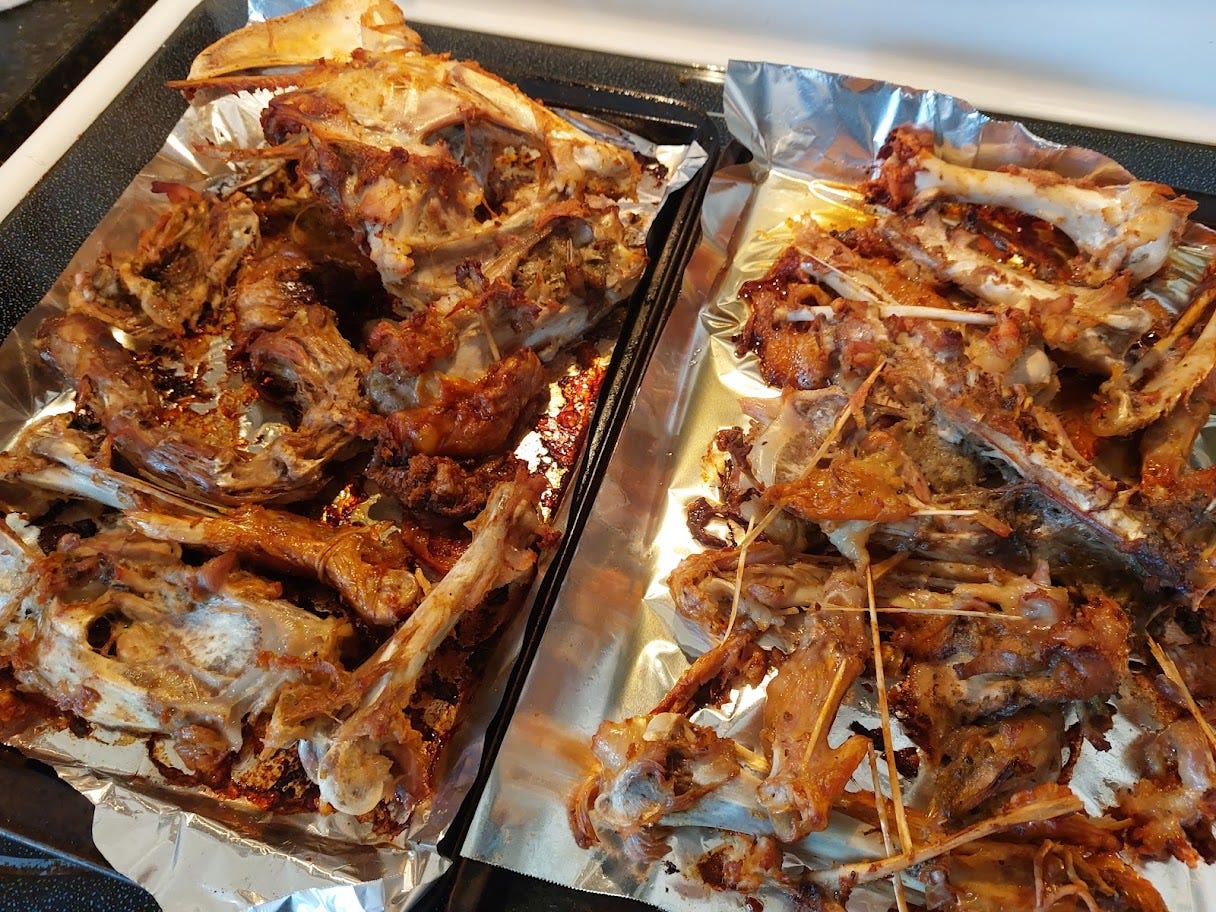
The first step is to roast your bones. Spread your bones out on a sheet pan or two. If you have old blackened pans like I do you may want to put some foil down to ease the cleanup.
Roast your bones until they are dark but not burned. In my oven that took about 20 minutes at 400F, but it may take a bit longer. Keep an eye on them.
Once your bones are done, dump them into your big pot. Make sure to scrape all the brown stuff off the pans and add it. This stuff is the fond, the foundation of flavour! Even if you used foil you should be able to get most of it off. Deglaze with water and give the pan a good scrape, though a bit more gently if your pan is non-stick – coating chips are not part of the recipe.
Now it’s time to add your aromatics (les aromates). This is where we get into a little controversy.
Everyone has an opinion on what can go in stock and I’m going to tell you – most of those opinions are just plain wrong.
The three main things that go in stock are onions, carrots, and celery, and in roughly a 40-40-20 percentage. Other things you can add to your stock if you have them on hand include:
alliums like shallot and leek, and garlic in small amounts
pieces of tomato, tomato skins, and those slightly wrinkled cherry/grape tomatoes
mushroom stems and trimmings
black peppercorns, bay leaves, and parsley and thyme stems.
You will find lots of people on the Internet (yay Pinterest!) that tell you to save up all your vegetable scraps and peelings to make stock. It’s a nice idea, but it’s WRONG.
Strong flavoured vegetables like cabbage, broccoli, and asparagus are definite no-nos, and soft vegetables like zucchini, peppers, eggplant, and leafy greens will make a gross cloudy mess of your stock. Skip them.
At cooking school one of the first things we learned was the difference between the stock pot and the compost bin. Trust me, our chefs wanted us to learn to squeeze every last bit of flavour and money out of our ingredients. Restaurants make a lot of their money on soups and other dishes that use up trimmings and off-cuts. An odd-shaped piece of carrot still tastes like a carrot, but a ton of carrot peels will make your stock bitter. Same goes for celery leaves – they are just too bitter to use in quantity. Brown onion peels are fine if they are clean, but don’t overdo them. Don’t get all fussy and start peeling bits of carrot and picking leaves off celery, just don’t make a point of saving them for your stock.
The easiest way to have the right aromates on hand is to start a bag in your freezer. Any time you have a scrap or leftover that’s suitable just add to the bag. You may not end up with the precise ratio of 40-40-20, but as long as you have at least some onion and carrot you’ll be fine. If your freezer bag is a bit short of something you can always add a bit to it.
And how much of these aromates to add? Again, you need not be super-precise here, but about 20 percent of the weight of your bones and water is about right. Don’t bother weighing it out – just keep that number in your head.
Fill your stock pot with COLD water to about an inch above the top of the bones. Why cold? In cooking you’re doing one of two things: concentrating a flavour, or expanding it. When we are concentrating (think searing a piece of meat) we start with a hot pan. When are trying to pull the flavours or components out of something (like when we are rendering the fat from a duck breast) we start in a cold pan. When we throw fresh green beans in boiling water we concentrate their flavours, when we start our stock in cold water we are pulling the flavours out of the bones and aromates. Remember this concentration/expansion dichotomy – it comes in handy all the time!
Bring the pot close to the boil, then turn it down to a bare, quivering simmer. A hard boil will cause any particles of fat, bone fragments, and protein scum to rise to the surface and then churn back into the stock leaving it cloudy. Some chefs would tell you to blanch and drain your bones before you start, but I think that’s overkill for a home cooking situation – if you see a lot of foam/scum come to the surface just skim it off with your spoon.
Let your stock simmer for at least four or five hours, and as long as eight. If the water gets low top it up a bit. Skim a bit if necessary, and enjoy the gorgeous smell permeating your home.
When your stock is done strain it directly into a clean pot and throw away the solids. The bones will be brittle and the vegetables beyond mushy. Trust me, you have wrung every last bit of goodness out of them!
Do not refrigerate hot stock! It takes too long to cool (putting it into the bacterial growth zone) and its heat will raise the temperature of everything in your fridge. My trick? I set the pot on the cold concrete floor in my garage, partially covered.
Once your stock is thoroughly chilled, skim off the fat. If you’ve used a lot of bones your stock should have a nice gelatinous texture. Give the pot a slap and enjoy the wiggle!
Gently rewarm the stock and pour in into another clean pot, leaving any sediment behind.
At this point your stock is done if you want it to be. It smells amazing, has a gorgeous brown colour and tastes like MOP WATER.
Really. It tastes like crap. Try it.
It tastes terrible because we’ve avoided adding SALT. You do not want to add salt to your stock along the way. Seasoning with salt limits what you can do with it. If I’ve added salt along the way I can’t reduce my stock without making it saltier by concentration. I could reduce my stock down to a thick glaze but it would be unbearably salty if I had seasoned it to taste for a soup. If you want to taste it properly ladle a bit into a bowl and add salt to that – you’ll get the full picture of your stock without messing up your whole batch.
Now, if you’re like me you do have some limits on your fridge and freezer space and you actually like a little convenience when it comes to preparing meals. I put my stock back on the stove and gently reduce it to a couple of litres and then portion it into quantities that I can use. Silicone molds are wonderful for this, as are ice cube trays and freezer bags. The molds pictured hold about ¾ cup/6 ounces/178ml. Pop them in the freezer and you’ve got a secret ingredient whenever you need it.
And what to do with this liquid gold? Roasting meat and need some sauce? Pop in some stock with your pan drippings. Making a soup or a stew? Add some stock. Grains like rice? Use some stock. Getting sick? Stock may not cure you, but you just might feel better.
In cooking we are, like in most things, creatures of habit. Once you get into the habit of saving bones and vegetable trimmings it’s not even really a chore, but rather a routine. It’s one of those wonderful things that pays off far more than the effort put in because you have, in fact, turned bones into gold.


Beautiful ly explain- I heart ♥️ kitchen Science
The End paragraph is
Sublime!!!!! It IS the Dilithium Kernel Crystal Power Energy !!! Pshoooosh!!!
Perhaps I gush too mucho but Muy Verdad!!!