Despite the lactose-induced misery I suffer, I adore butter. It’s my favourite form of dairy, and the one I would have the hardest time living without. It’s the sine qua non of French cuisine, a vital ingredient in much of the Asian subcontinent in the form of ghee, and an all-round kitchen workhorse.
When in doubt, add more butter.
But butter is expensive, and true artisanal butter a wallet-busting proposition, even when the prices of everything aren’t surging. The butter at your regular grocery store is pretty similar from one brand to the next, with some variation in saltiness or lack thereof.
But what if you want to show off a bit? Sure, you can make pretty butter curls or use your Grandma’s crystal butter dish, but if you’ve made a beautiful loaf of bread or used the last of the blueberries in your freezer to make muffins perhaps it’s time to up your game.
Enter small batch butter.
Now, you may have tried your hand at making butter back in grade school (or was that just me?), with your teacher handing you a jar of cream and telling you to shake your little heart out. While I suspect the real aim of the exercise was to wear us out, it was kind of neat to make something edible - it had more than the usual cachet of a craft to take home to Mom and Dad.
But, I also suspect your teacher may have left out a step or two, and if your experience was anything like mine the butter went rancid in a day or two and was promptly binned. And I also suspect you didn’t learn or retain much of the sciency-goodness of the lesson other than that if you shake cream long enough it separates and you get butter.
So let me give you a wild oversimplification of the process, and then show you how to make butter the right way. Your Mom will be impressed this time, I promise.
Cream (and milk in general) is an emulsion (hey, we’ve talked about emulsions before!) of fat in water. When we churn, aka beat the ever-loving crap out of it, we break down the membranes surround the fat cells (called phospholipids, if you care about such things) such that the emulsion breaks and the fat separates from the water. You end up with butter (the fat) and buttermilk (mostly water).
You could pour some cream into a jar and hand it to the nearest seven year old, but you probably have a much better tool in your kitchen: a mixer.
You can use an electric hand mixer, but you will need to be mindful that the motor is not as strong as that of a stand mixer, so be gentle and keep the beaters moving around the bowl. Don’t just jam them harder as the butter stiffens up, unless you like the smell of burned out motors and the grind of stripping gears. I had a bad experience with this. Don’t ask.
You’ll need: two bowls, a mixer of your choice, a spatula, a sieve, some cheesecloth, and some 35% cream. Fine salt is optional.
Pour your cream into your mixing bowl and start whipping at medium-high speed.
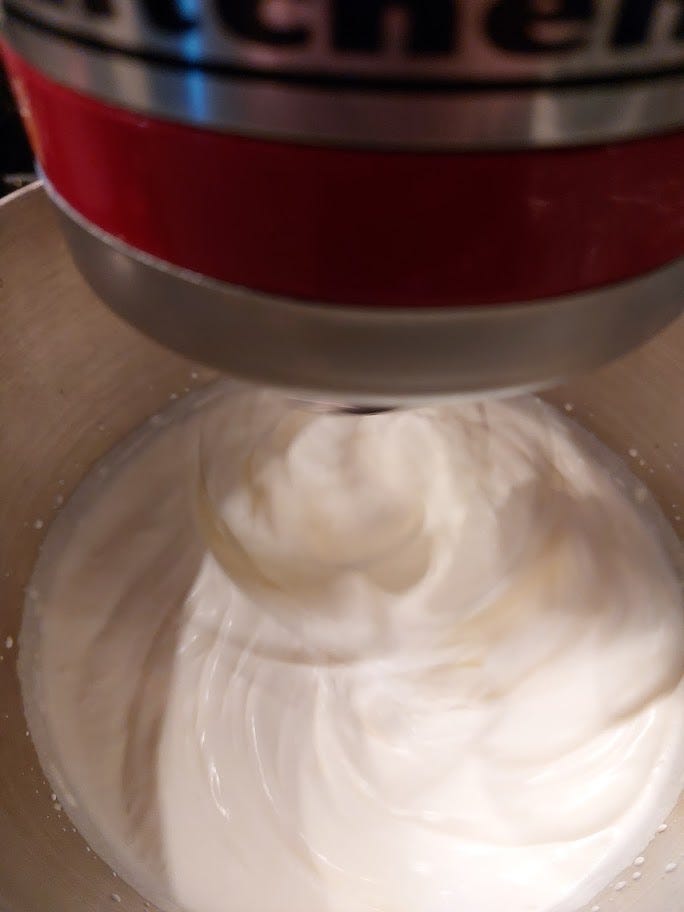
In a few minutes you’ll have whipped cream.
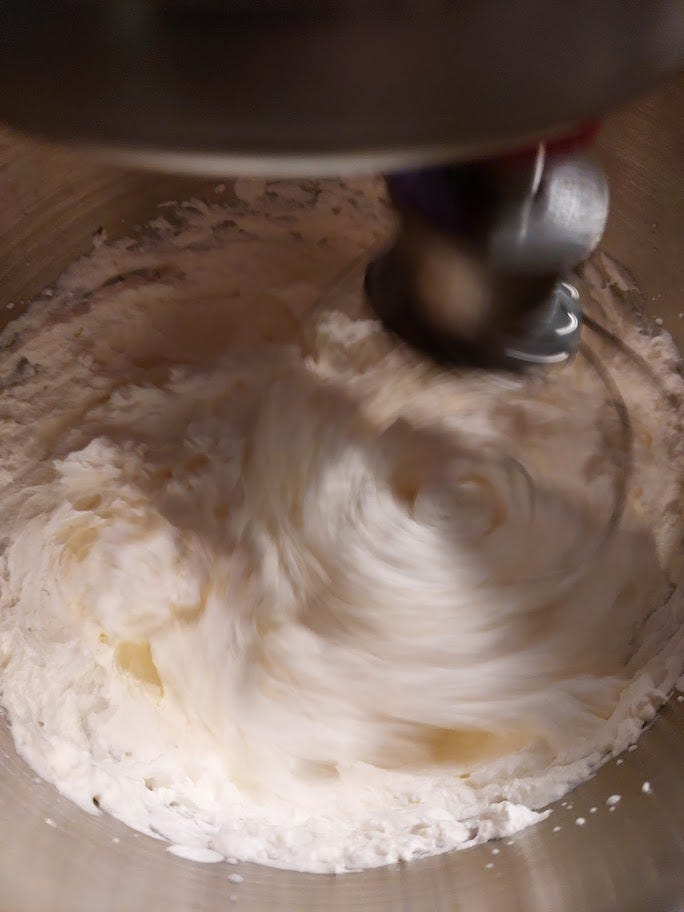
In a few more minutes the cream will start to look dry and clumpy. Scrape down the sides of the bowl and keep going. If you taste the cream at this point you’ll definitely notice a buttery flavour.
The motor of your mixer will be straining a bit. The cream will be quite thick and greasy-looking.
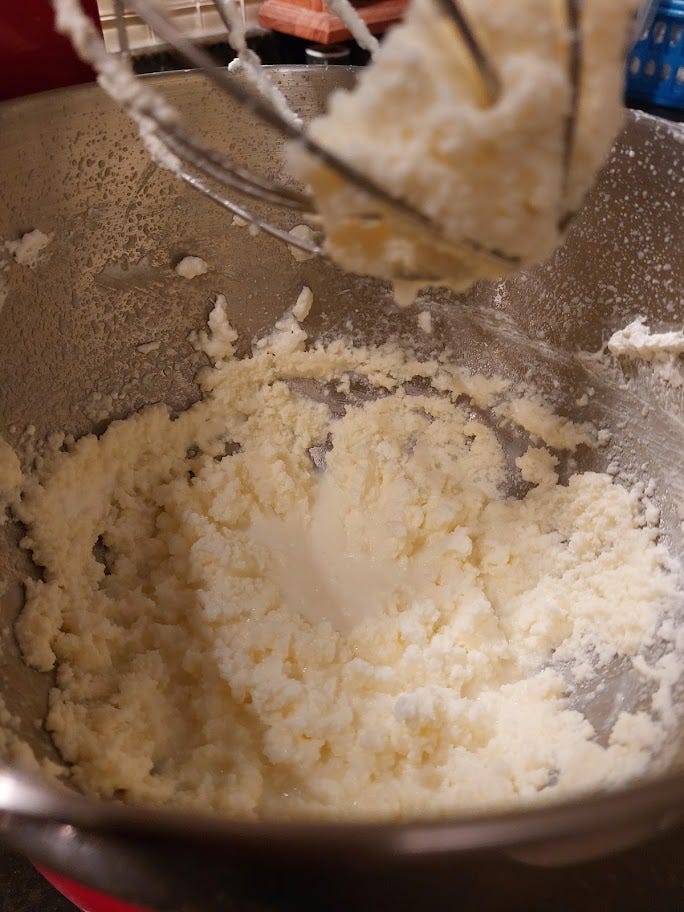
Then suddenly…..
You have butter!
(If you aren’t paying attention you’ll notice a fine spray of buttermilk misting your backsplash, your clothes, your counter, and the dog. When it separates it happens fast, so pay attention.)
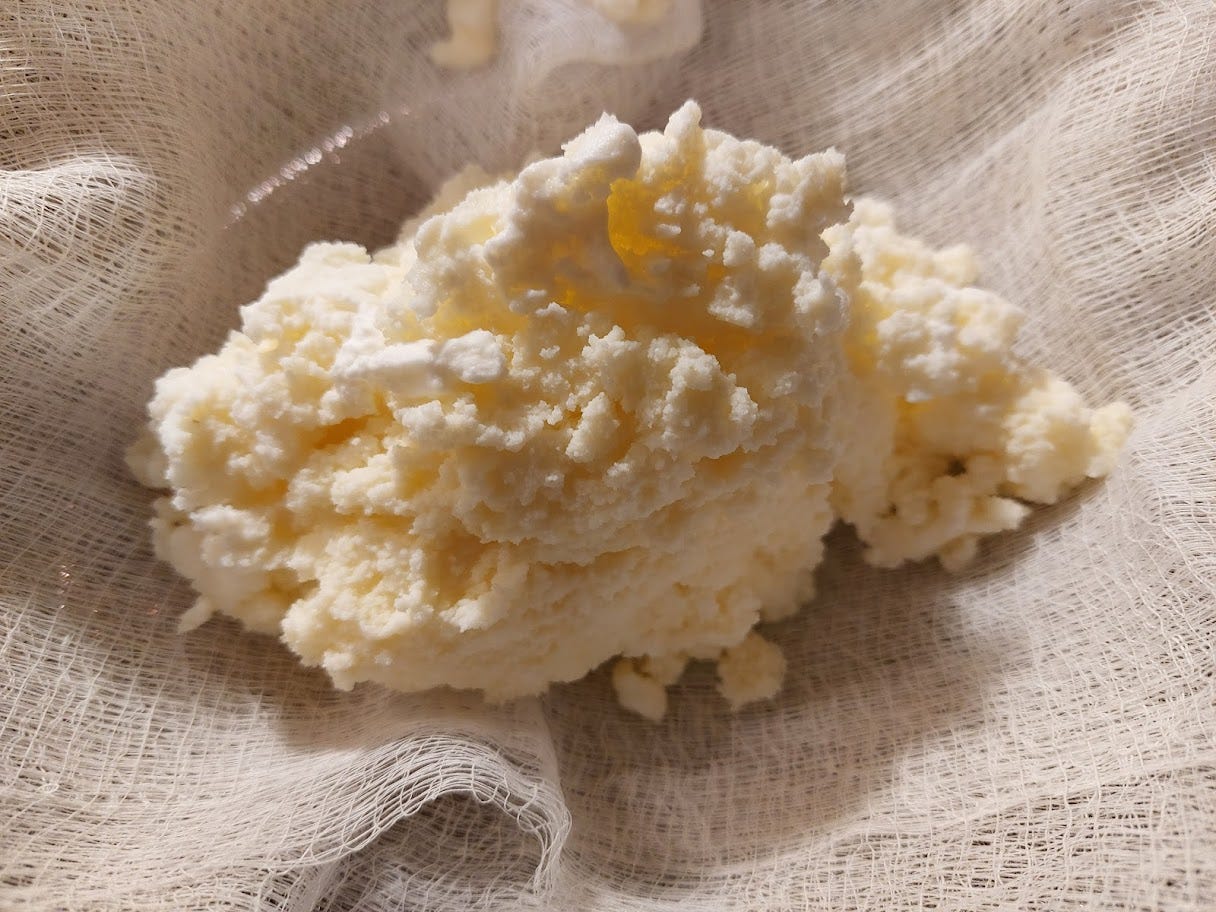
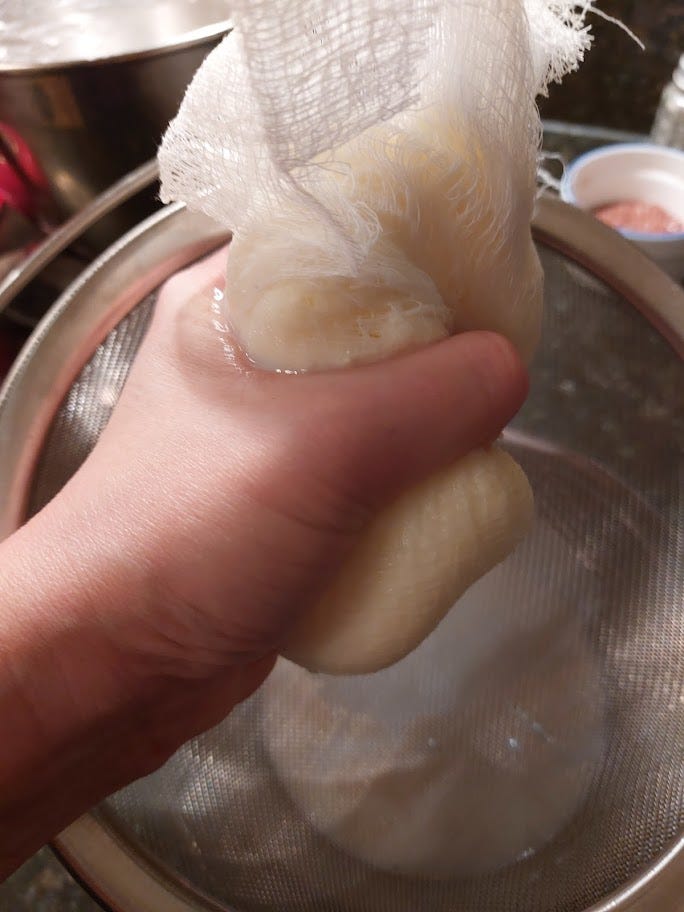
Scrape/pour your butter into a cheesecloth-lined sieve.
Gather the corners and squeeze. Squeeze it again! Again! This will drain off most of the buttermilk.
Unwrap your butter and gently massage it under very cold running water. This will wash the rest of the buttermilk away and help keep your butter from going rancid. (And put a bowl or sieve in the sink to catch falling bits. Don’t be a tool like me.)
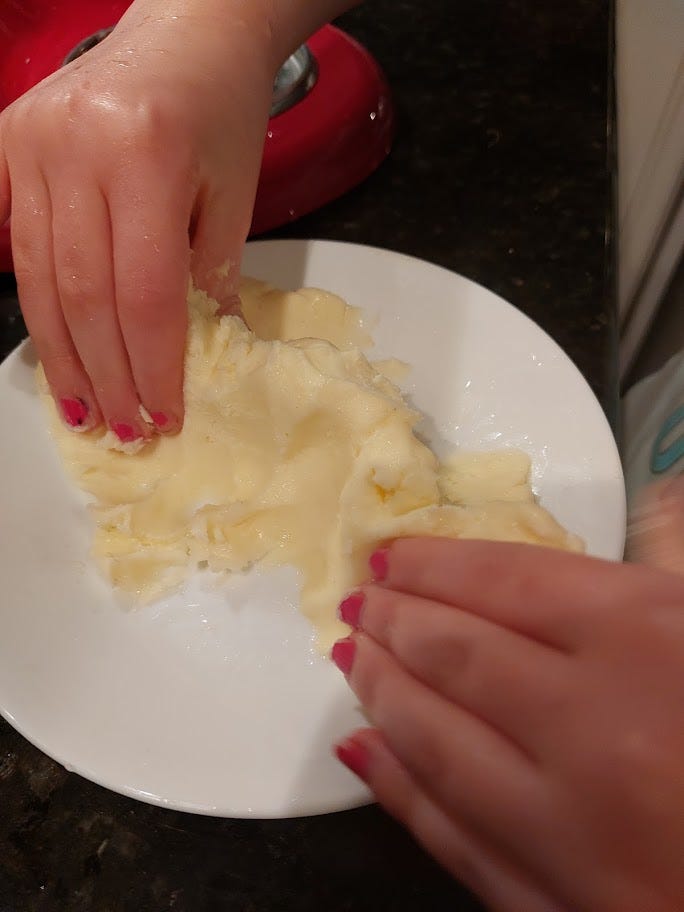
Spread your cold butter on a plate and sprinkle with fine salt, if using. Kneed it in with cold wet hands. Kids enjoy helping with this part (think greasy Play-Doh!)
At this point you can shape or your butter if desired, or pop it right in the fridge. I like to line a ramekin with plastic wrap (for easy removal) and press it in firmly.
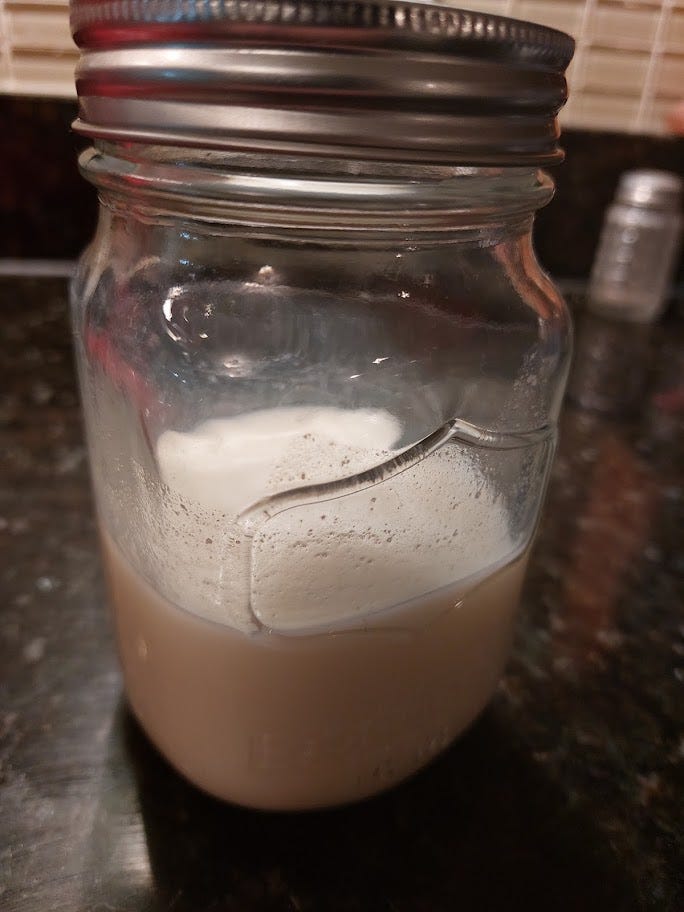
I started with 2 cups/500ml of cream and ended up with about a cup of buttermilk and 145 grams of butter. I used about 1/4 teaspoon of salt, and though it’s a matter of taste I do recommend a light hand.
This stuff tastes divine. It’s higher in butterfat than the butter you’re used to and it has a rich mouthfeel. This is show-offy butter, so use it where it can be the star of the show. If you’ve washed it well and salted it, it should be okay for at least a week in the fridge, if you don’t eat it all immediately.
And the buttermilk? It’s not cultured buttermilk like you get from the store so it doesn’t have that acidic bite, but if you’re a baker or a pancake fan I’m sure you can put it to good use.
But hang on a sec…. cultured butter(milk)? Remember when we made crème fraîche? If you were to whip your crème fraîche into butter, just as we did with regular cream above, you’d have cultured butter and cultured buttermilk! You could use the cultured buttermilk to make more crème fraîche… and the cycle would continue. You’d have a steady supply of tangy fancy-pants butter and put your local bougie grocery store out of business.
This isn’t an everyday project, but if you’re stuck in the doldrums of late winter why not try something different? It’s a fun and easy way to make your baking and cooking just a little extra special. Despite it’s decadence it’s also educational because it’s another way to get to know your basic ingredients in a new way. And if you’ve got kids around it’s a great activity to get them into the kitchen. Besides, some of the best crafts aren’t the ones that go on the fridge, they’re the ones that go in the fridge.


