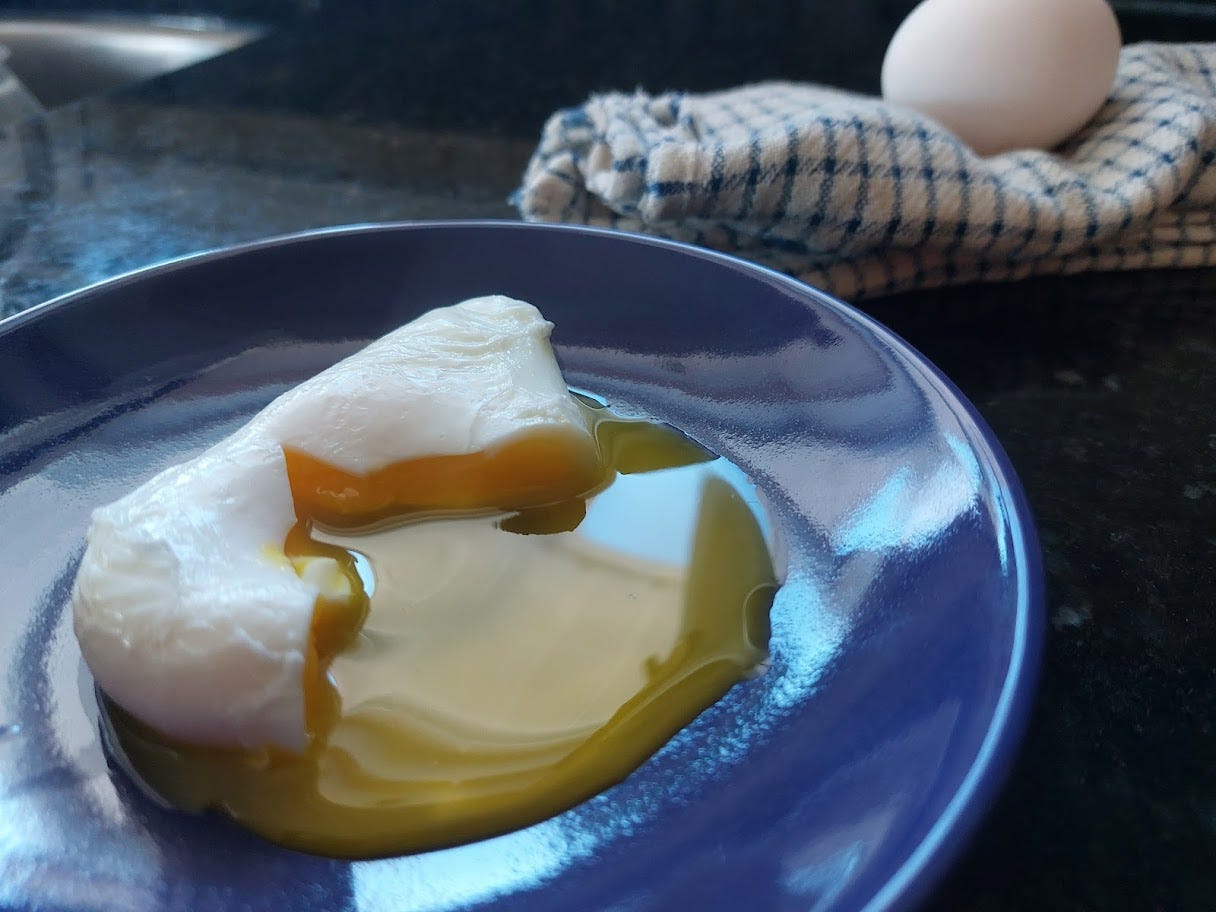
Up to and even during culinary school I dreaded poaching eggs. You would think that something so simple, so basic, would have been easy to master, but heck no. They fell apart, were undercooked, broke at the wrong time, and even stuck to the bottom of the pot. I’d usually have to make three to get one that was passable.
A trial by fire during a busy Easter Sunday brunch cured me of my ineptitude in the way that only repeated practice and sheer terror can do. Practice does, in fact, make perfect when it comes to poached eggs.
The secret? The simpler the task the more important the details. So if this seems like a lot of detail for a wee little egg please humour me a bit.
You’ll need a deep pot, water, white vinegar, salt, a slotted spoon, a timer, a small cup/ramekin (optional) and an egg (not optional).
Some nerdy stuff:
The directions here are for a Canadian large egg (56 to 63 grams). US egg grades are similar to Canadian ones, but if you are elsewhere in the world check this page for equivalents. If you are poaching a larger or smaller egg you can adjust the cook time accordingly.
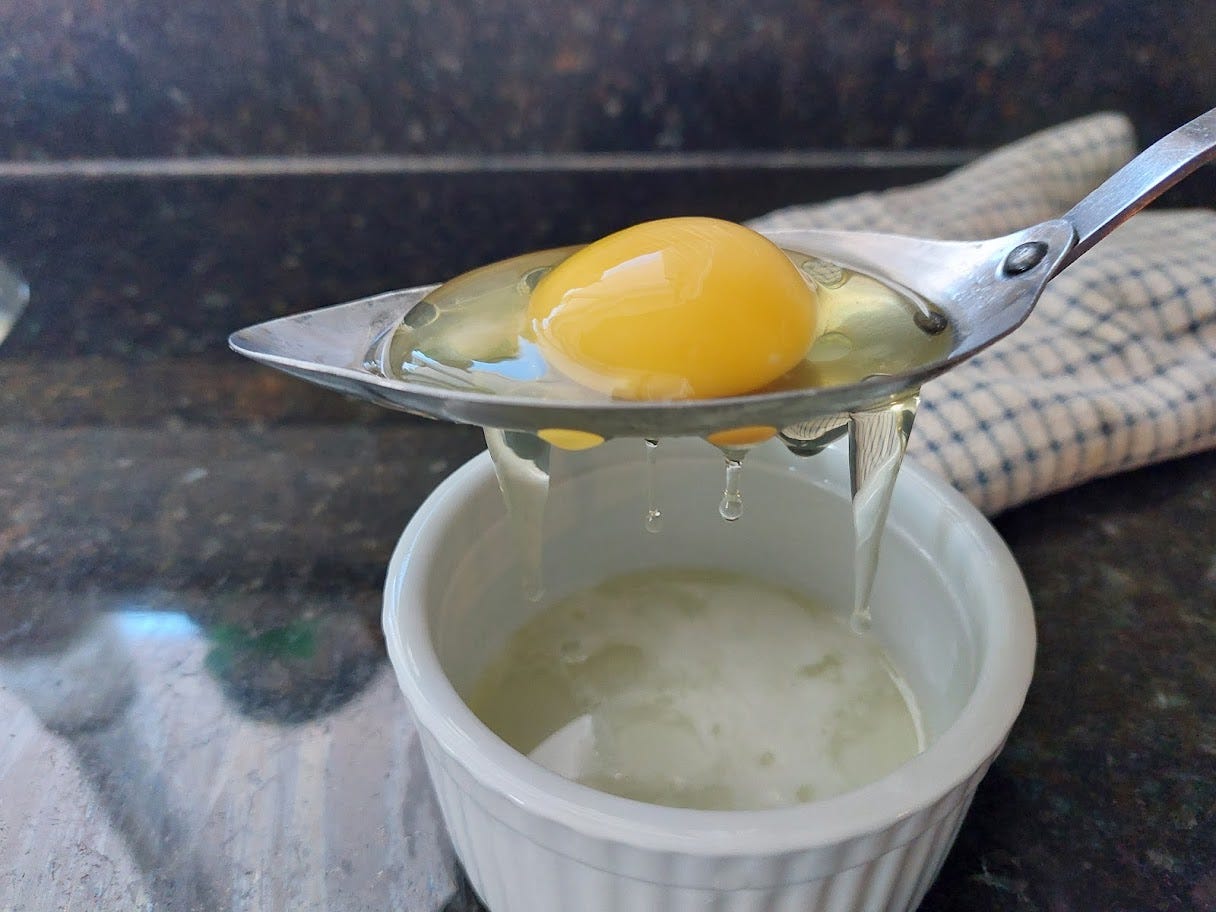
The fresher the better. Eggs for poaching are one of the exceptions to the FIFO (first in, first out) rule. Save your older eggs for baking and scrambling. Why? The older the egg the more watery the egg white. Watery whites = a foamy mess in your poaching pot (and a lot less egg to eat!). You can strain your egg in a spoon (as shown below) but a watery egg will almost completely strain away.
Always crack your eggs on a FLAT surface, not the edge of a bowl or the pot. Cracking them on an edge pushes the shell into the egg, risking shell fragments, contamination, a broken yolk, or all three.
Blood spots are common in farm fresh eggs, so it is definitely worthwhile to crack them into a dish first. The blood spots are not harmful, but they are a bit icky.
A deeper pot allows the egg to start cooking as it swirls downwards, minimizing the chance of it sticking to the bottom.
Got all that? Let’s get cracking!
Fill your pot with water and add about a tablespoon of white vinegar and a teaspoon of salt per litre. The salt seasons the water (and thus the egg) and the vinegar helps the egg white coagulate. Too much vinegar and/or salt will make the egg white tough and give it an odd pickle-y vibe.
Bring the water to a boil, then turn it down to a gentle simmer. It is easier to turn the heat down to the right level than to guess if it is hot enough.
Make a whirlpool in the pot using your spoon. Keep the water in the pot, but don’t be afraid to give it a hard stir! Slide/crack the egg directly into the vortex. If you are poaching more than one egg, continue sliding/cracking eggs as the water continues to swirl.
Set your timer for four minutes, or three and a half if the egg is on the small end of the range. Pour a coffee. Scroll through Instagram. Chill.
Check your egg when the timer beeps and scoop it up with your slotted spoon. The yolk should feel like a soft water balloon and the white should be firm but tender. It may need a few more seconds.
Pat dry with a clean kitchen towel to absorb excess water. If you are feeling fancy you can trim any stringy egg white ribbons.
But what if you want to make brunch for a crowd and not spend the whole time tethered to the stove?
Poach your eggs ahead of time.
If you have a lot of eggs to do (let’s say you’re ambitious and making Eggs Florentine for the whole crew) use a stock pot and adjust the vinegar and salt for your volume of water. With a bit of practice you can easily poach eight or 10 eggs at a time!
Prepare an ice bath – a bowl or container filled with cold water and ice cubes. Poach your eggs as usual, and in batches if necessary, but for THREE MINUTES. When you reheat the eggs they will cook a bit more, so you want them a bit underdone.
After three minutes slide the eggs directly into the ice bath, cover, and refrigerate. You can do this a few hours before, or even the day before. When it is time to eat prepare a pot of simmering water and slip in the eggs for about 75 seconds. The eggs will finish cooking and you’ll look like a Michelin-starred chef.
And one final tip – don’t count your poached eggs before they’ve hatched…er, cooked. Make a few extra just in case. Cook’s treat!
Like this tip? Let me know what you think at heykettleoffish@gmail.com


